

In today’s tutorial, you will learn to make this beautiful paper lantern which looks so classy and can be used as a festive decoration, or you can use it for pretty much any event or occasion! The process of making this paper lantern is very easy to follow so Let’s start the tutorial!
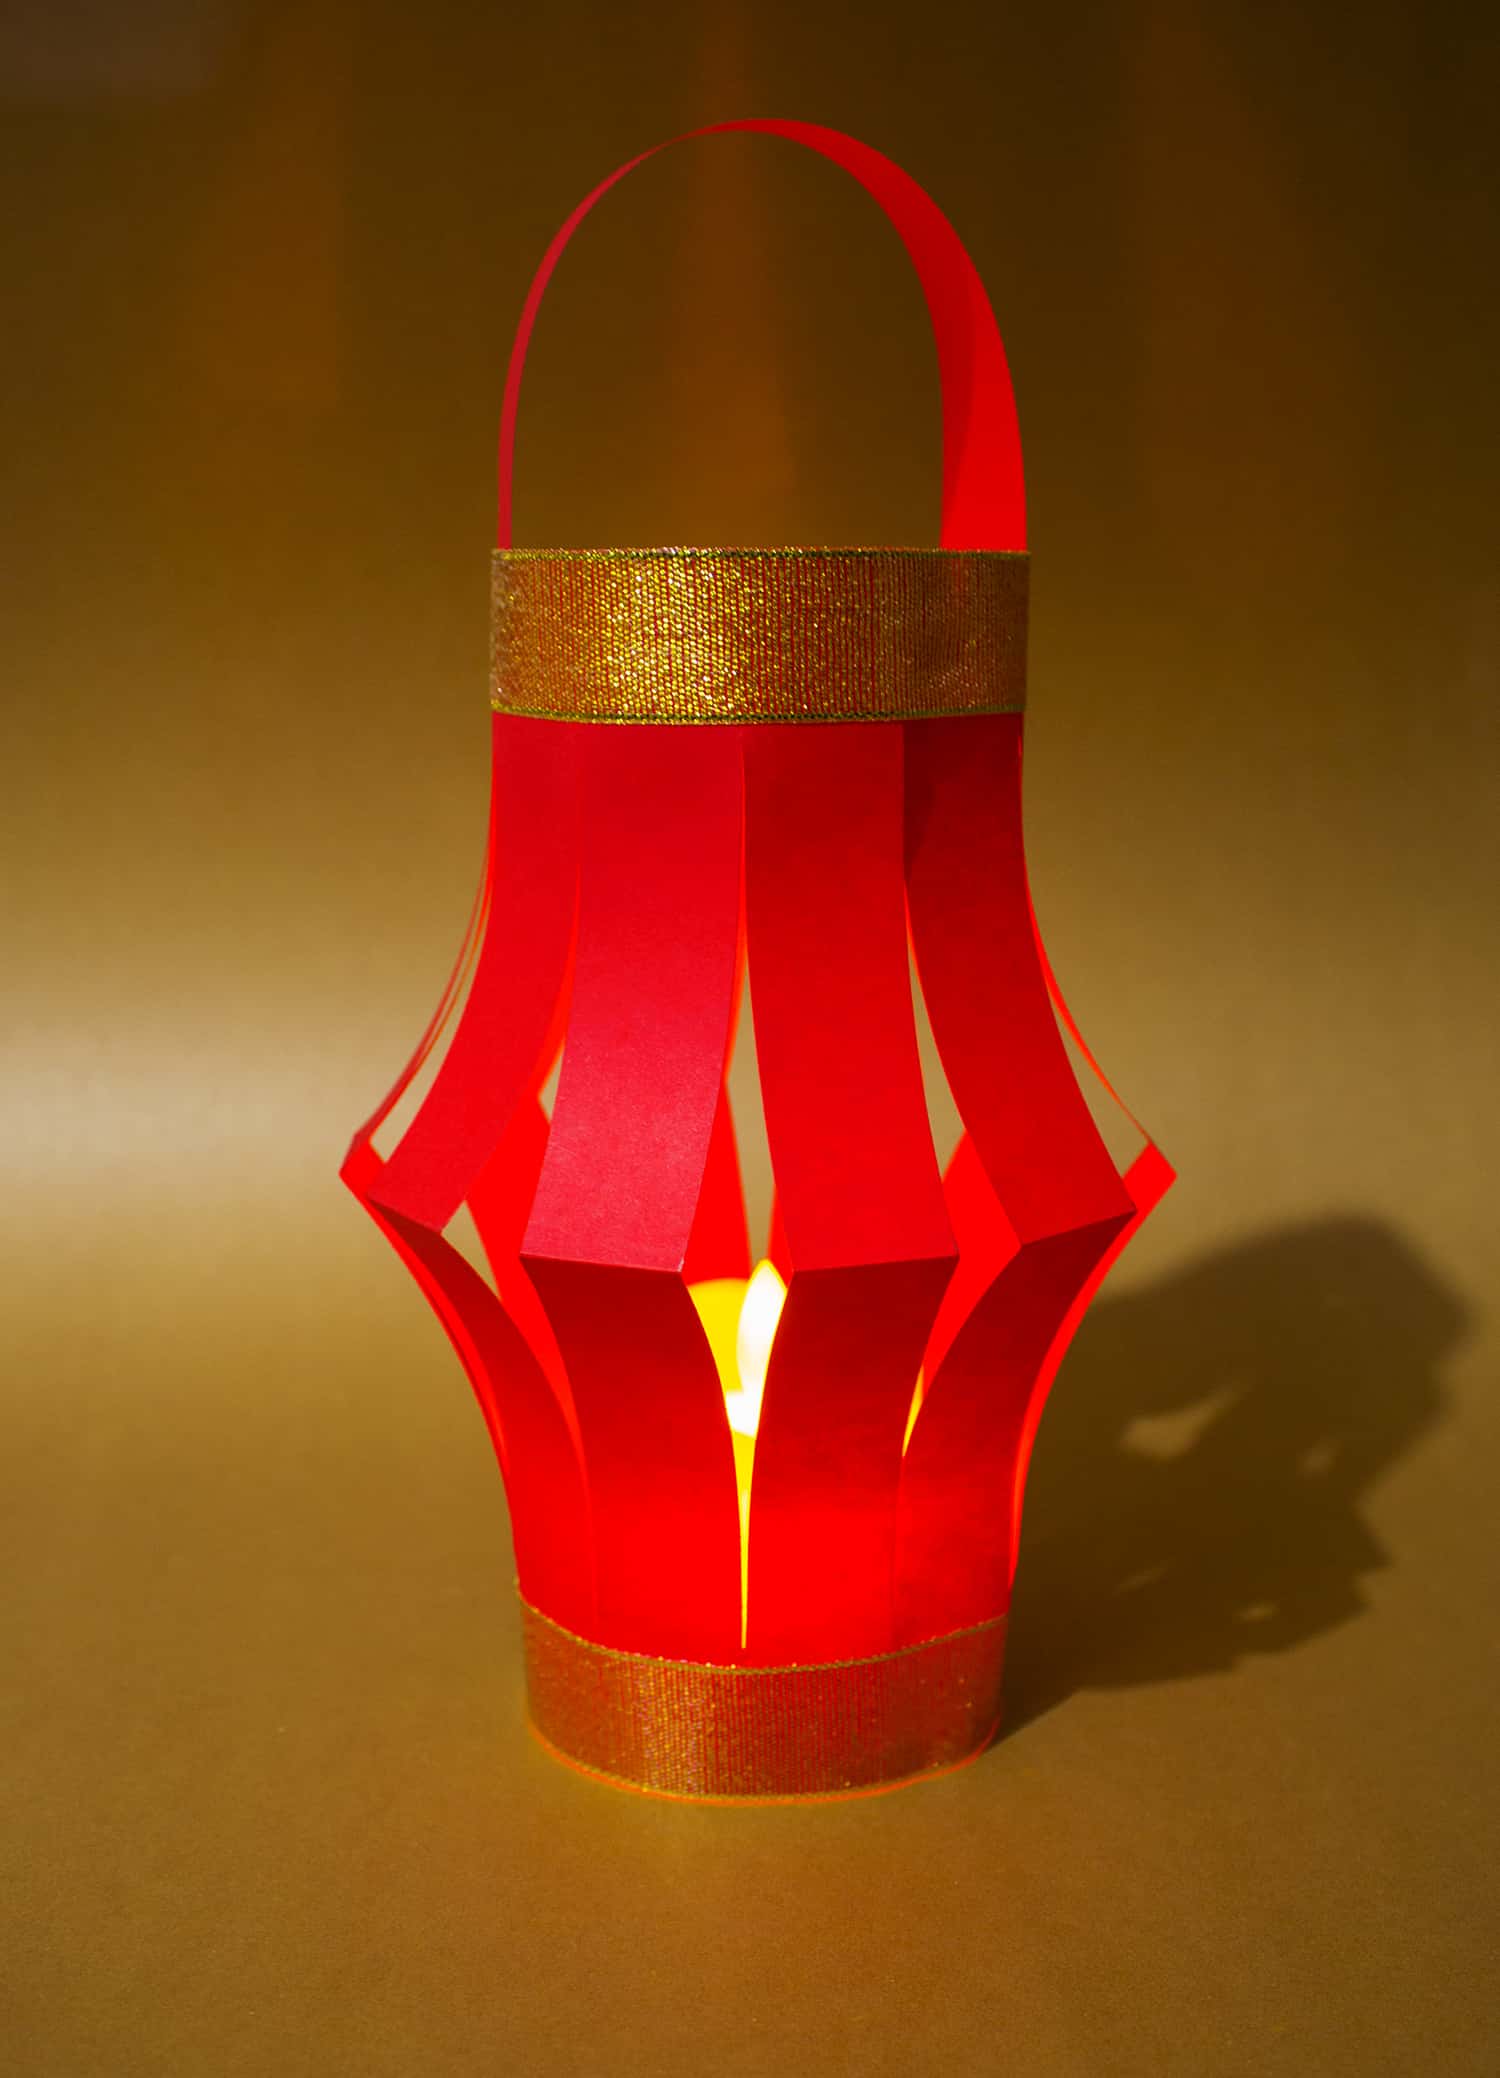
Necessary Supplies Needed for making beautiful Paper lantern.
- Paper ( Red or Yellow)
- Scissors
- Tape
- Ruler
- Pencil
- Glue
- Things to decorate your lantern (washi tape, ribbons, stickers, glitter glue, etc)
Step 1
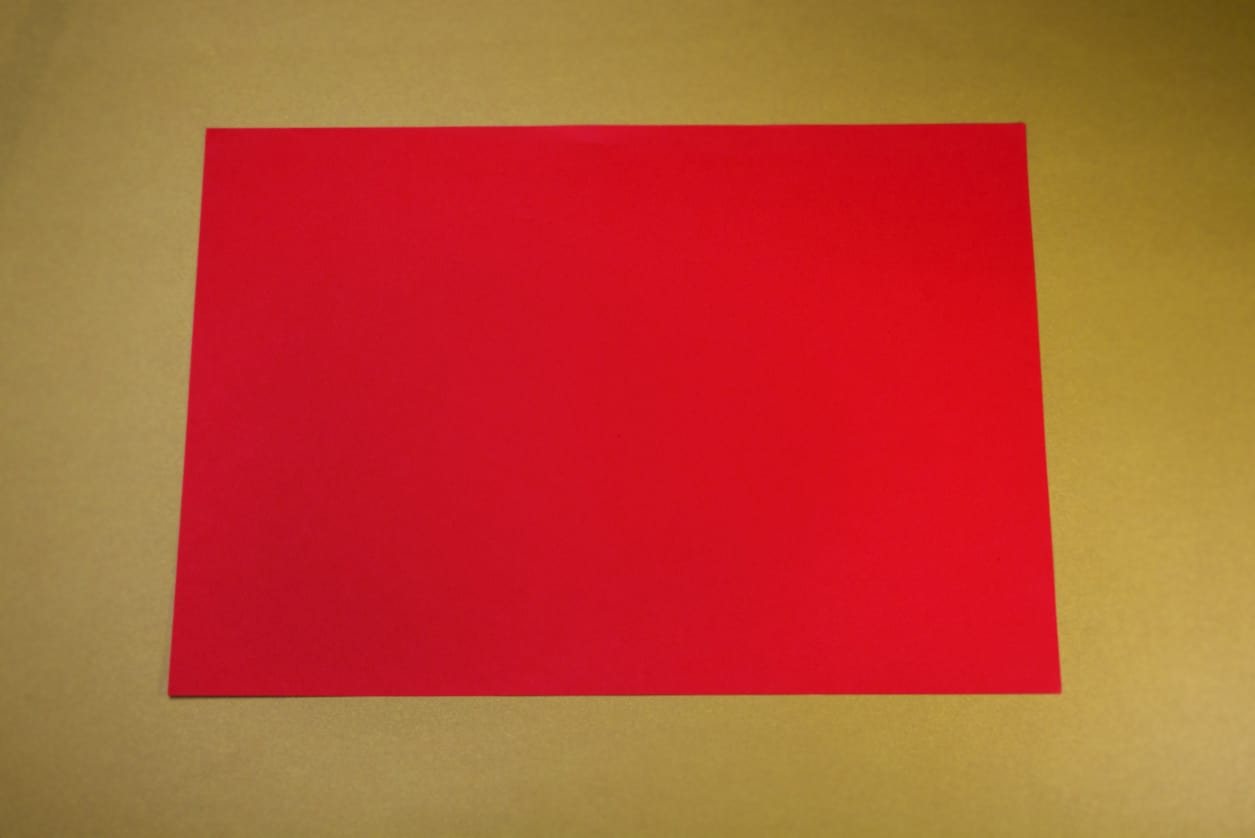
Take an A4 size red color paper. I’m using red color but you can use any color of your choice.
Step 2
Cut a one inch wide strip from one short side of the paper. The strip will be used for the handle of the lantern.

Step 3
Now fold the paper in half, lengthwise. Fold it properly as shown below.

Step 4
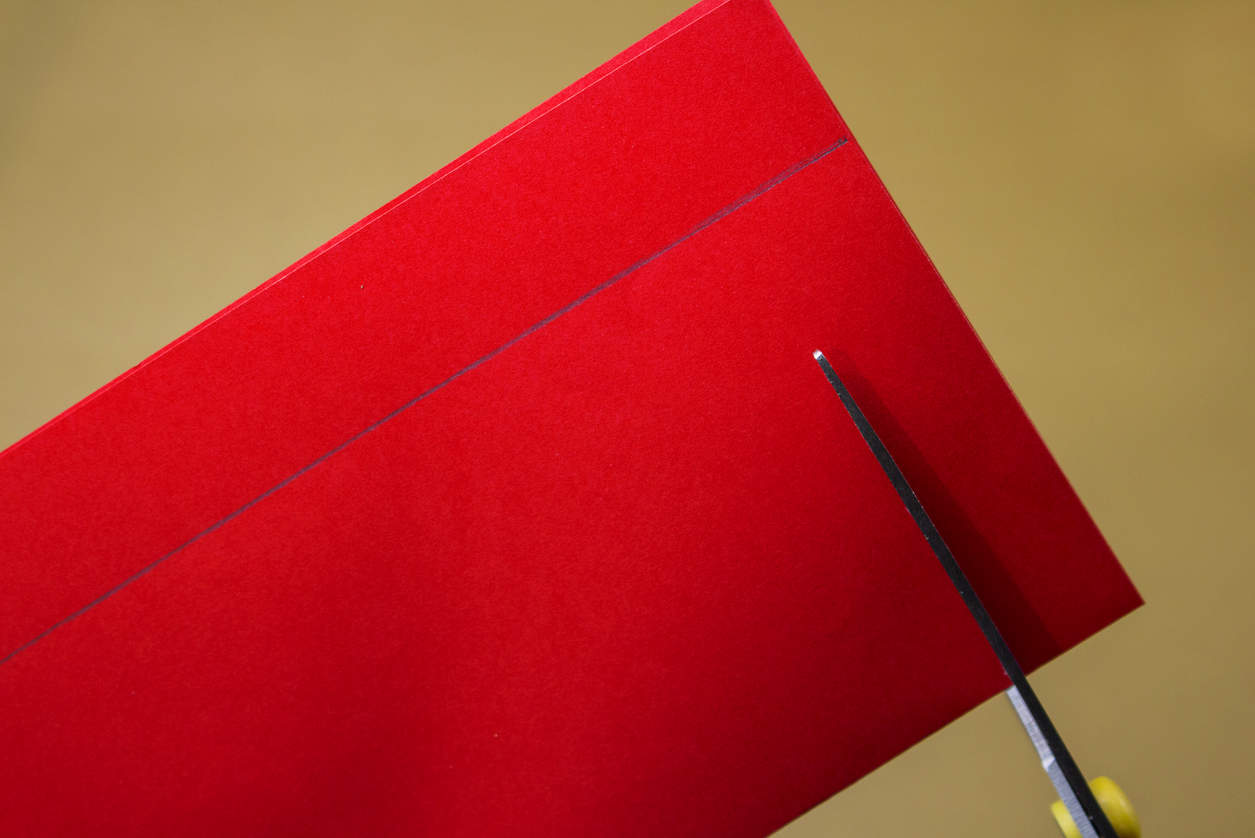
Draw a horizontal line one inch from the long edge opposite the fold. This line is just a guide for cutting the paper. If you look deeply you will see the tiny lines i drew, it’s not very clear.

Step 5
Start cutting fringes from the folded edge and cut a straight line about one inch from one short edge, all the way up to the horizontal line.
Step 6
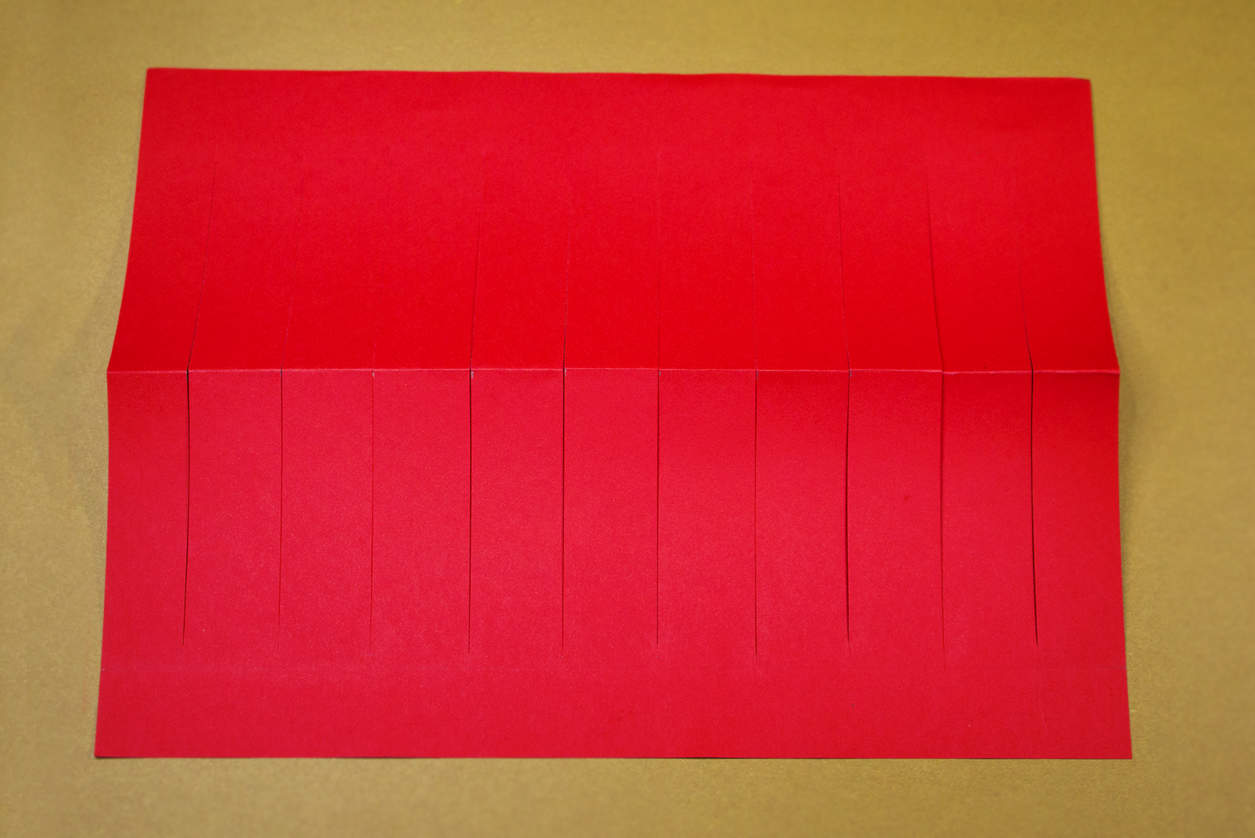
Continue to cut more straight lines about one inch apart until you reach at the end of the otherside. Make sure to cut equal lines.

Then unfold the paper, erase any pencil marks on the paper.
Step 7
After that apply some colorful washi tape on the top and bottom edges. You can keep your lantern plain or decorate it with paint, glitter, stickers, etc. I’m using golden washi tape because golden color always enhances the beauty of red color! You can easily find this type of golden washi tape on Amazon or other online stores.
And if you plan to decorate your lantern with beads, buttons or sequins, then make sure to leave at least half inch of undecorated area on one top corner of the paper. That gap will help you to connect the two edges that will form a lantern.

Step 8
After decorating your lantern, form the paper into a tube shape. Overlap the long edges at least half inch. Glue the top and bottom of the overlap, you can also use tape to secure the overlap.

Step 9
Take the paper handle you made earlier. Glue the ends of the handle on the inside of the lantern’s top edge. You can also decorate the handle if you like but I prefer it plain.

Step 10
Put an led candle underneath the lantern and it will give a classy and warm touch to your decor.

Here some more great Ideas to Explore
This looks so fun! An engaging and easy craft for kids!
Wow! thank you for passing by, I’m happy you like the craft. My daughter love it.
Super cool! What a fun craft idea for kids. Great to make for a party or event!
I’m glad you like it, definitely it will be good for both occasions.
Pingback: How to Make a DIY Birthday Card -
Pingback: Shopping For Magnetic Educational Toys? Observe These Safety Guidelines - Kids Fun Family