
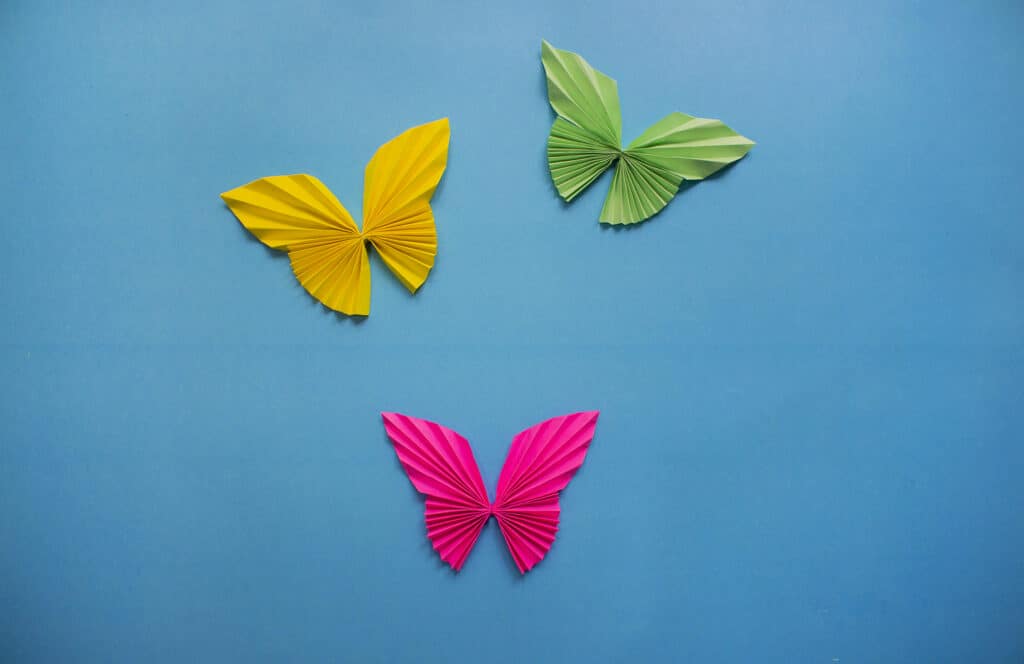
Do you want to make beautiful butterflies? Look no further because today I’ll be sharing with you an easy method of making beautiful butterflies out of paper. This butterfly craft is fun to make especially in this summer season! These butterflies can be used for multi purposes, such as decorating walls, sticking them onto a greeting card, decorating a photo frame, decorating classroom walls and bulletin boards, using it as a cake topper and much more. This is a fun project especially for kids as they will learn different kinds of folding techniques and will definitely enjoy the process of creating these beautiful butterflies out of paper. So let’s get started!
Supplies Needed
Step 1
You will need a square piece of paper, any paper will work. The paper I used is 16cm x 16cm. Use different color papers to make a colorful bunch of butterflies because together they will give a colorful vibe!
Cut your paper in half and if kids are involved in making this butterfly then the cutting part must be done in adult supervision.

Step 2
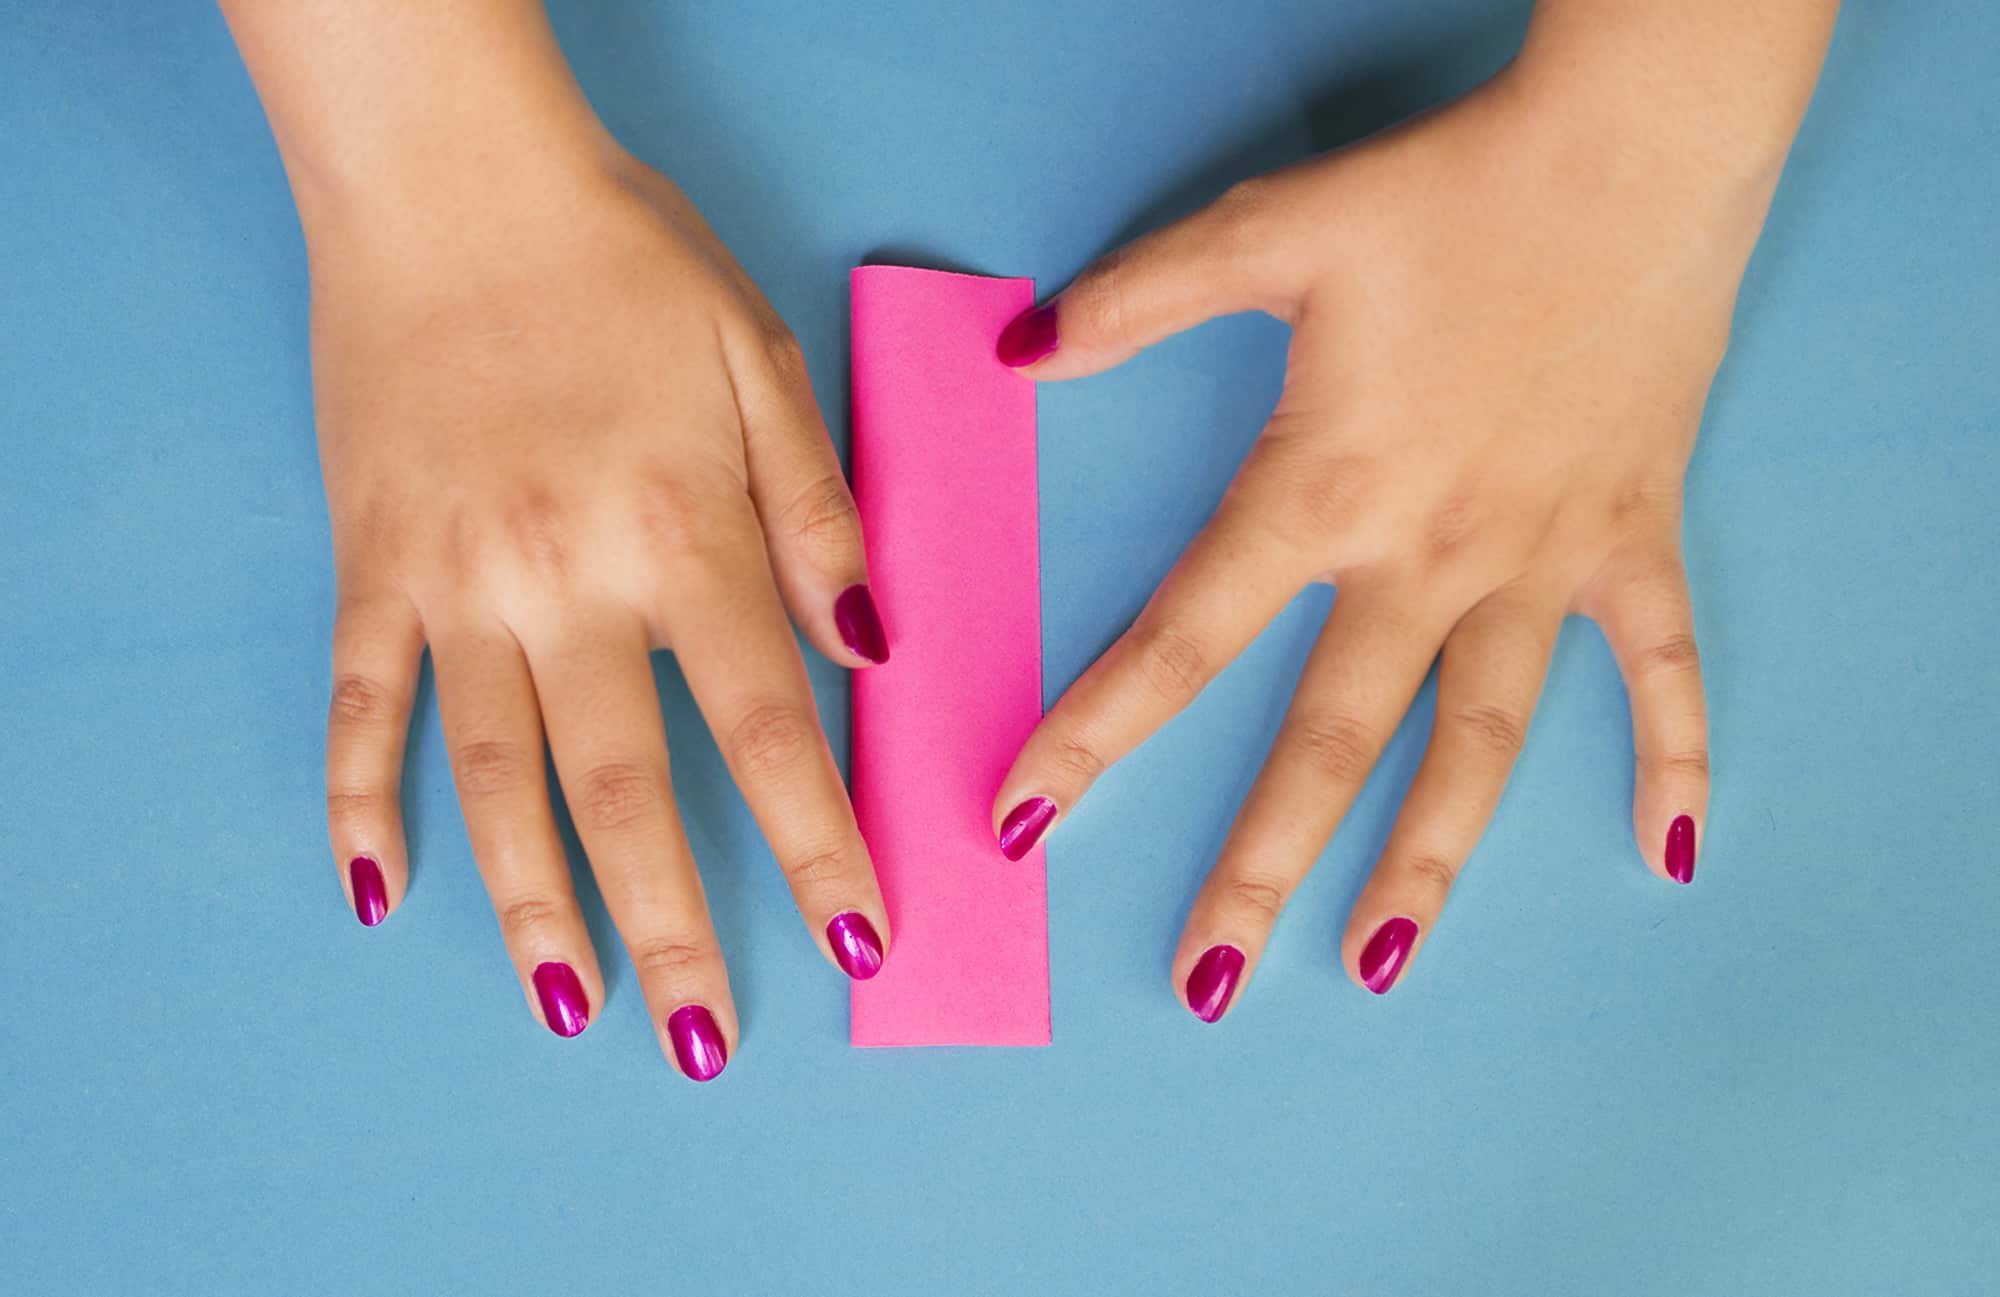
After cutting the paper, take one piece and fold it in half lengthwise.
Step 3
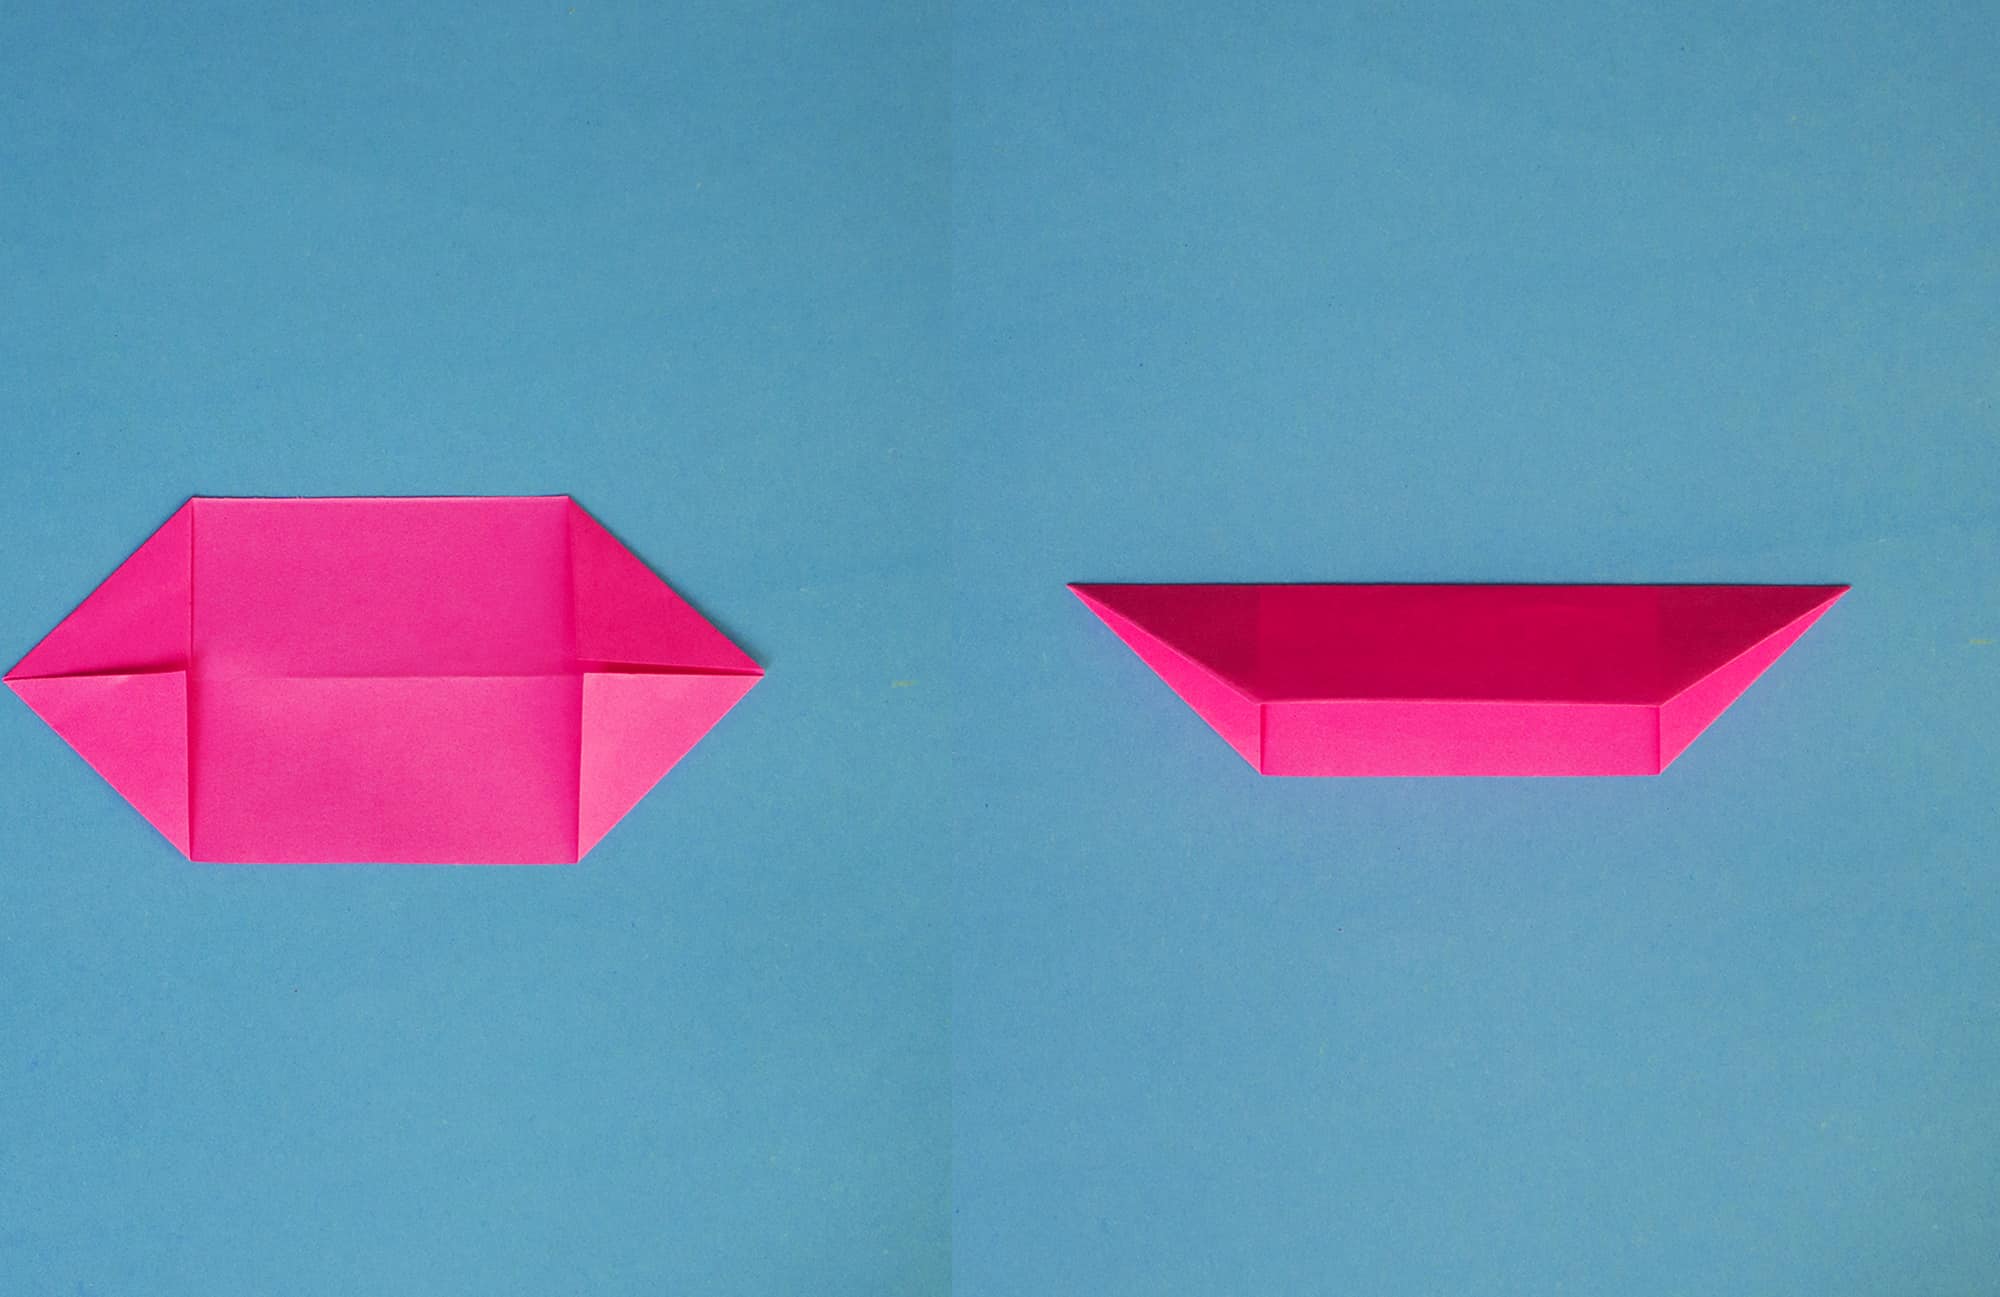
Now open the paper and fold the corners into triangles as showing below. Make sure that edges are aligned and make a good crease.
Step 4
Now fold the paper in an accordion pleats. The size of the pleats are 0.5cm, and make sure to fold the paper in even pleats.

Then fold it from the middle as demonstrated below.
Step 5
Then take the other half sheet of the paper and fold it also in accordion pleats. Fold it width wise.

Once you are done with the pleats, fold the paper from the middle.


Step 6
Now take a piece of thread or a ribbon in similar color to the paper and tie a knot. Make sure to tie it tightly. And for the colored thread, it’s okay if you cannot find the exact same color thread just use any color thread which resembles to the paper’s color.

Step 7
Spread the pleats in order to get the butterfly shape. Spread it carefully because we don’t want to tear our butterfly.

Step 8
And your pretty butterflies are ready. Look how gorgeous they are looking!

Ideas to Explore
More crafts ; How to Make a Multicolor Paper Flower